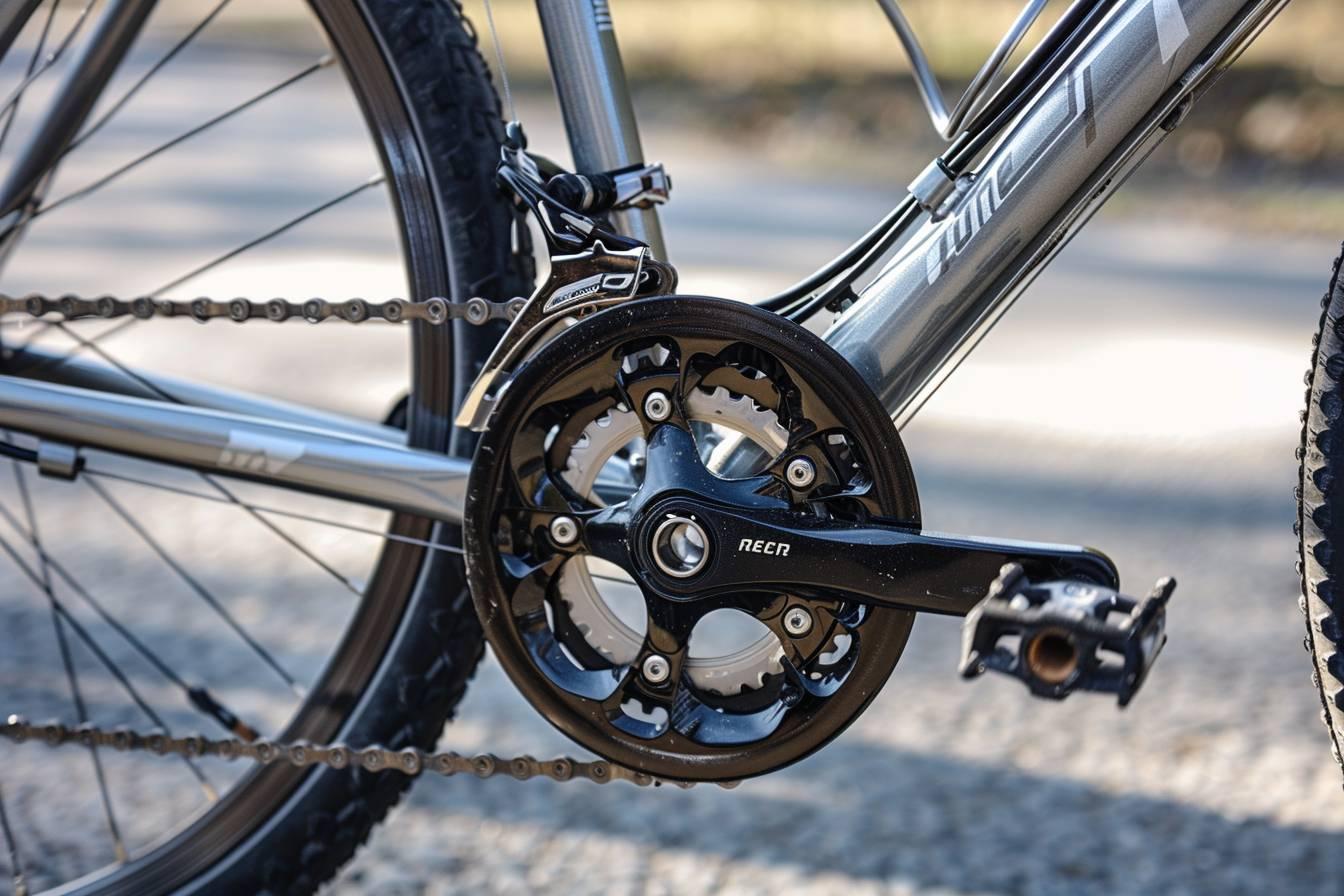
This comprehensive guide outlines essential steps for optimal front derailleur performance, enhancing your cycling experience. Here’s a brief overview :
- Key components : Height, rotation, limit screws, and cable tension
- Proper adjustment : Crucial for smooth shifting and drivetrain longevity
- Troubleshooting : Address common issues like chain rub and slow shifting
- Maintenance : Regular checks and lubrication ensure optimal performance
Perfecting your front derailleur adjustment is crucial for smooth and efficient shifting on your bicycle. A well-tuned front derailleur ensures seamless transitions between chainrings, enhancing your riding experience and preventing potential damage to your drivetrain. In this comprehensive guide, we’ll walk you through the essential steps to achieve optimal front derailleur performance, covering everything from basic adjustments to troubleshooting common issues.
Key components of front derailleur adjustment
Front derailleur adjustment involves fine-tuning several key components to ensure proper function. These elements work together to create a seamless shifting experience :
- Height
- Rotation
- Limit screws
- Cable tension
Each of these components plays a crucial role in the overall performance of your front derailleur. Proper adjustment of these elements is essential for smooth and precise shifting. Let’s delve into the specifics of each adjustment to help you achieve optimal front derailleur performance.
When setting up your front derailleur, it’s important to start with the correct height. The derailleur cage should be positioned 1-2mm above the largest chainring. This small gap ensures that the chain can move freely between chainrings without rubbing against the derailleur cage.
Next, focus on the rotation of the derailleur. The cage should be parallel to the chain, allowing for smooth transitions between gears. Proper alignment minimizes the risk of chain rub and ensures efficient shifting.
It’s worth noting that while proper front derailleur adjustment is crucial for optimal performance, other components of your bicycle also play a role in overall ride quality. For instance, if you’re considering a folding e-bike for your commute, be sure to avoid common mistakes that could impact your ride and budget.
Mastering limit screw and cable tension adjustments
Limit screws and cable tension are critical components in fine-tuning your front derailleur’s performance. The L-screw controls the inward travel of the derailleur, while the H-screw manages the outward travel. Proper adjustment of these screws ensures that the chain doesn’t overshoot the chainrings during shifts.
To adjust the limit screws :
- Shift to the smallest chainring and largest rear cog
- Adjust the L-screw until there’s a small gap (about 1mm) between the chain and the inner plate of the derailleur cage
- Shift to the largest chainring and smallest rear cog
- Adjust the H-screw to achieve a similar 1mm gap between the chain and the outer plate of the derailleur cage
After adjusting the limit screws, it’s crucial to test the shifting to ensure smooth operation. If you notice any issues, fine-tune the adjustments as needed.
Cable tension is another vital aspect of front derailleur adjustment, particularly for indexed shifters with two or three positions. The barrel adjuster is your primary tool for fine-tuning cable tension. Start by pulling the cable tight before clamping it, then use the barrel adjuster to make small adjustments.
Here’s a quick reference table for common front derailleur issues and their potential solutions :
| Issue | Potential Solution |
|---|---|
| Chain rub | Adjust limit screws or cable tension |
| Slow shifting | Increase cable tension |
| Dropped chain | Check limit screws and derailleur alignment |
Remember that even with proper adjustment, cross-chaining (using extreme gear combinations) can sometimes cause chain rub. It’s best to avoid these gear combinations for optimal drivetrain efficiency and longevity.

Troubleshooting and maintenance tips
While proper adjustment is key to front derailleur performance, regular maintenance and troubleshooting can help prevent issues and extend the life of your drivetrain components. Here are some essential tips to keep your front derailleur in top condition :
Check derailleur alignment regularly. A misaligned or bent derailleur cage can cause shifting problems and potentially damage your chain or chainrings. If you notice any irregularities, carefully bend the cage back into shape or consider replacing the derailleur if the damage is severe.
Lubrication is crucial for smooth operation. Apply a high-quality bicycle lubricant to the derailleur’s pivot points and cables. This simple maintenance task can significantly improve shifting performance and reduce wear on moving parts.
For cyclists with electronic derailleurs, adjustments are typically made via dedicated apps or software. While this simplifies some aspects of derailleur adjustment, it’s still important to understand the basic principles of derailleur alignment and function.
When troubleshooting persistent issues, consider the following :
- Compatibility : Ensure all components are compatible, especially if you’ve recently swapped parts
- Chainring sizes : Check that your derailleur is suitable for your chainring configuration
- Professional help : If you’re unsure about making adjustments, don’t hesitate to seek assistance from a professional bike mechanic
By following these guidelines and maintaining your front derailleur regularly, you can ensure smooth, efficient shifting and a more enjoyable riding experience. Remember, practice makes perfect when it comes to derailleur adjustment, so don’t be afraid to fine-tune your setup as you become more familiar with your bicycle’s mechanics.
